Send emails in AWS with SST
Send emails from your API in AWS with SST.
We are going to build a simple SST app in AWS with a serverless API, and send emails from it.
Before you get started, make sure to configure your AWS credentials.
1. Create a project
Let’s start by creating our app.
mkdir my-email-app && cd my-email-appnpm init -yInit SST
Now let’s initialize SST in our app. Make sure to add the @ion part.
npx sst@ion initnpm installSelect the defaults and pick AWS. This’ll create a sst.config.ts file in your project root.
2. Add email
Let’s add Email to our app, it uses Amazon SES behind the scenes. Update your sst.config.ts.
async run() { const email = new sst.aws.Email("MyEmail", { sender: "email@example.com", });}SES can send emails from a verified email address or domain. To keep things simple we’ll be sending from an email. Make sure to use your email address here as we’ll be verifying it in the next step.
3. Add an API
Next let’s create a simple API that’ll send out an email when invoked. Add this to your sst.config.ts.
const api = new sst.aws.Function("MyApi", {  handler: "sender.handler",  link: [email],  url: true,});
return {  api: api.url,};
We are linking the our email component to our API.
Start dev mode
Start your app in dev mode. This runs your functions Live.
npx sst devThis will give you your API URL.
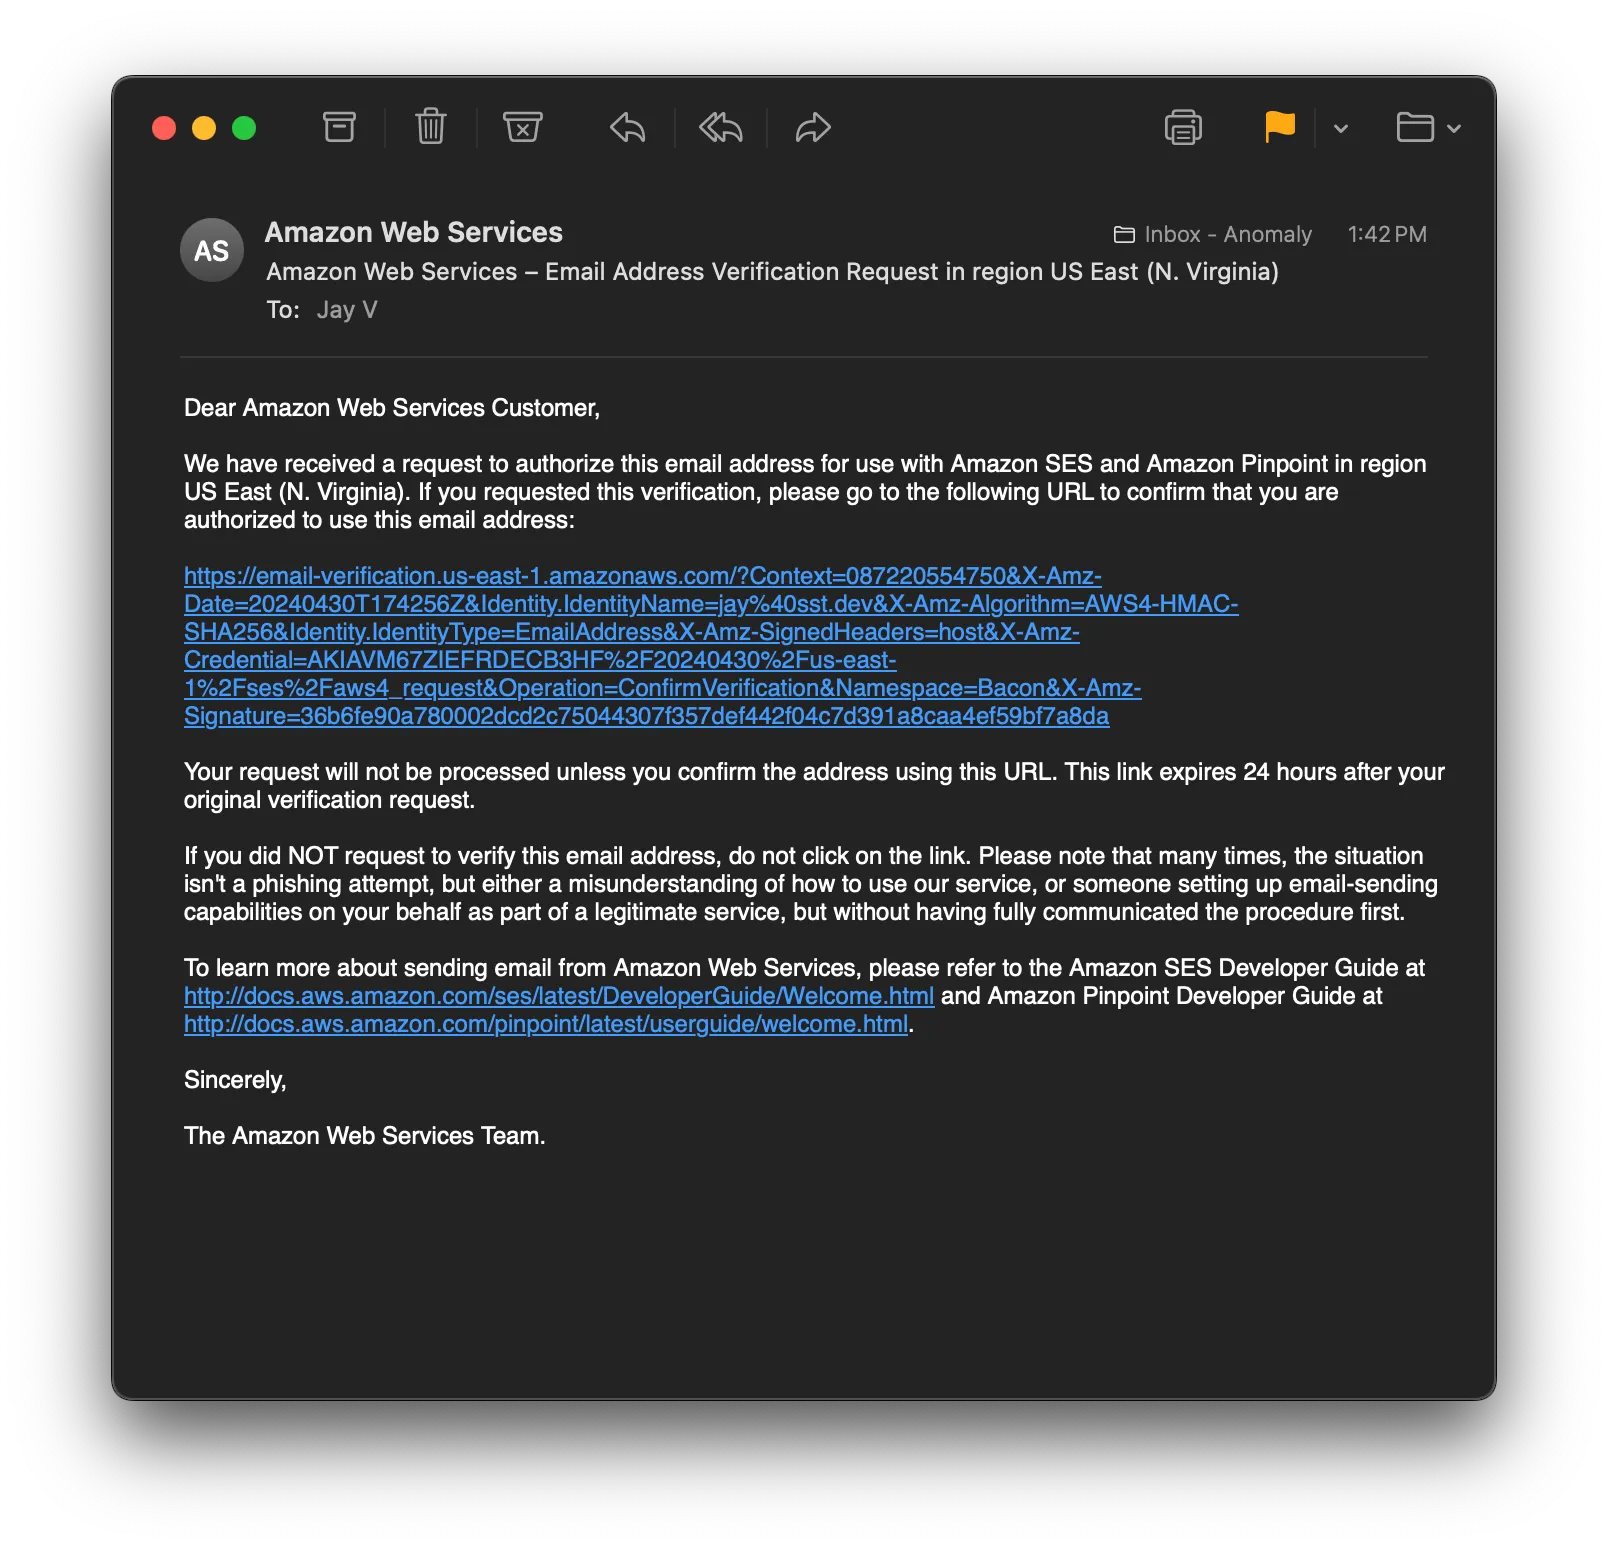
+ Complete api: https://wwwrwteda6kbpquppdz5i3lg4a0nvmbf.lambda-url.us-east-1.on.aws/You should also get an email asking you to verify the sender email address.

Click the link to verify your email address.
4. Send an email
We’ll use the SES client to send an email when the API is invoked. Create a new sender.ts file and add the following to it.
export const handler = async () => {  await client.send(    new SendEmailCommand({      FromEmailAddress: Resource.MyEmail.sender,      Destination: {        ToAddresses: [Resource.MyEmail.sender],      },      Content: {        Simple: {          Subject: {            Data: "Hello World!",          },          Body: {            Text: {              Data: "Sent from my SST app.",            },          },        },      },    })  );
  return {    statusCode: 200,    body: "Sent!"  };};
We are sending an email to the same verified email that we are sending from because your SES account might be in sandbox mode and can only send to verified emails. We’ll look at how to go to production below.
Add the imports.
import { Resource } from "sst";import { SESv2Client, SendEmailCommand } from "@aws-sdk/client-sesv2";
const client = new SESv2Client();
And install the npm packages.
npm install @aws-sdk/client-sesv2Test your app
To test our app, hit the API.
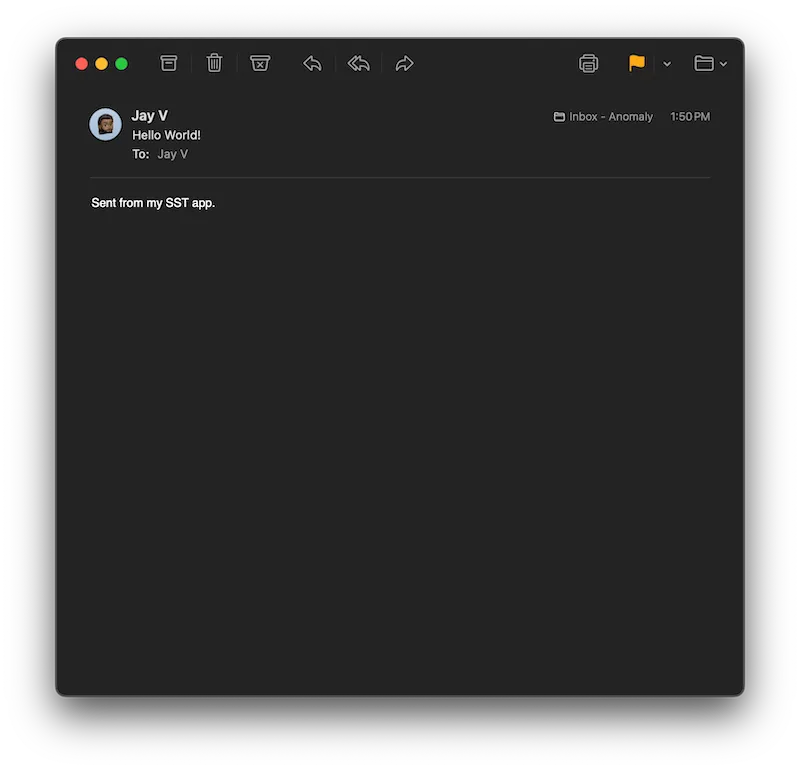
curl https://wwwrwteda6kbpquppdz5i3lg4a0nvmbf.lambda-url.us-east-1.on.awsThis should print out Sent! and you should get an email. You might have to check your spam folder since the sender and receiver email address is the same in this case.

5. Deploy your app
Now let’s deploy your app.
npx sst deploy --stage productionYou can use any stage name here but it’s good to create a new stage for production.
Next, for production you can:
- Request production access for SES
- And use your domain to send emails
This’ll let you send emails from your domain to any email address.
Connect the console
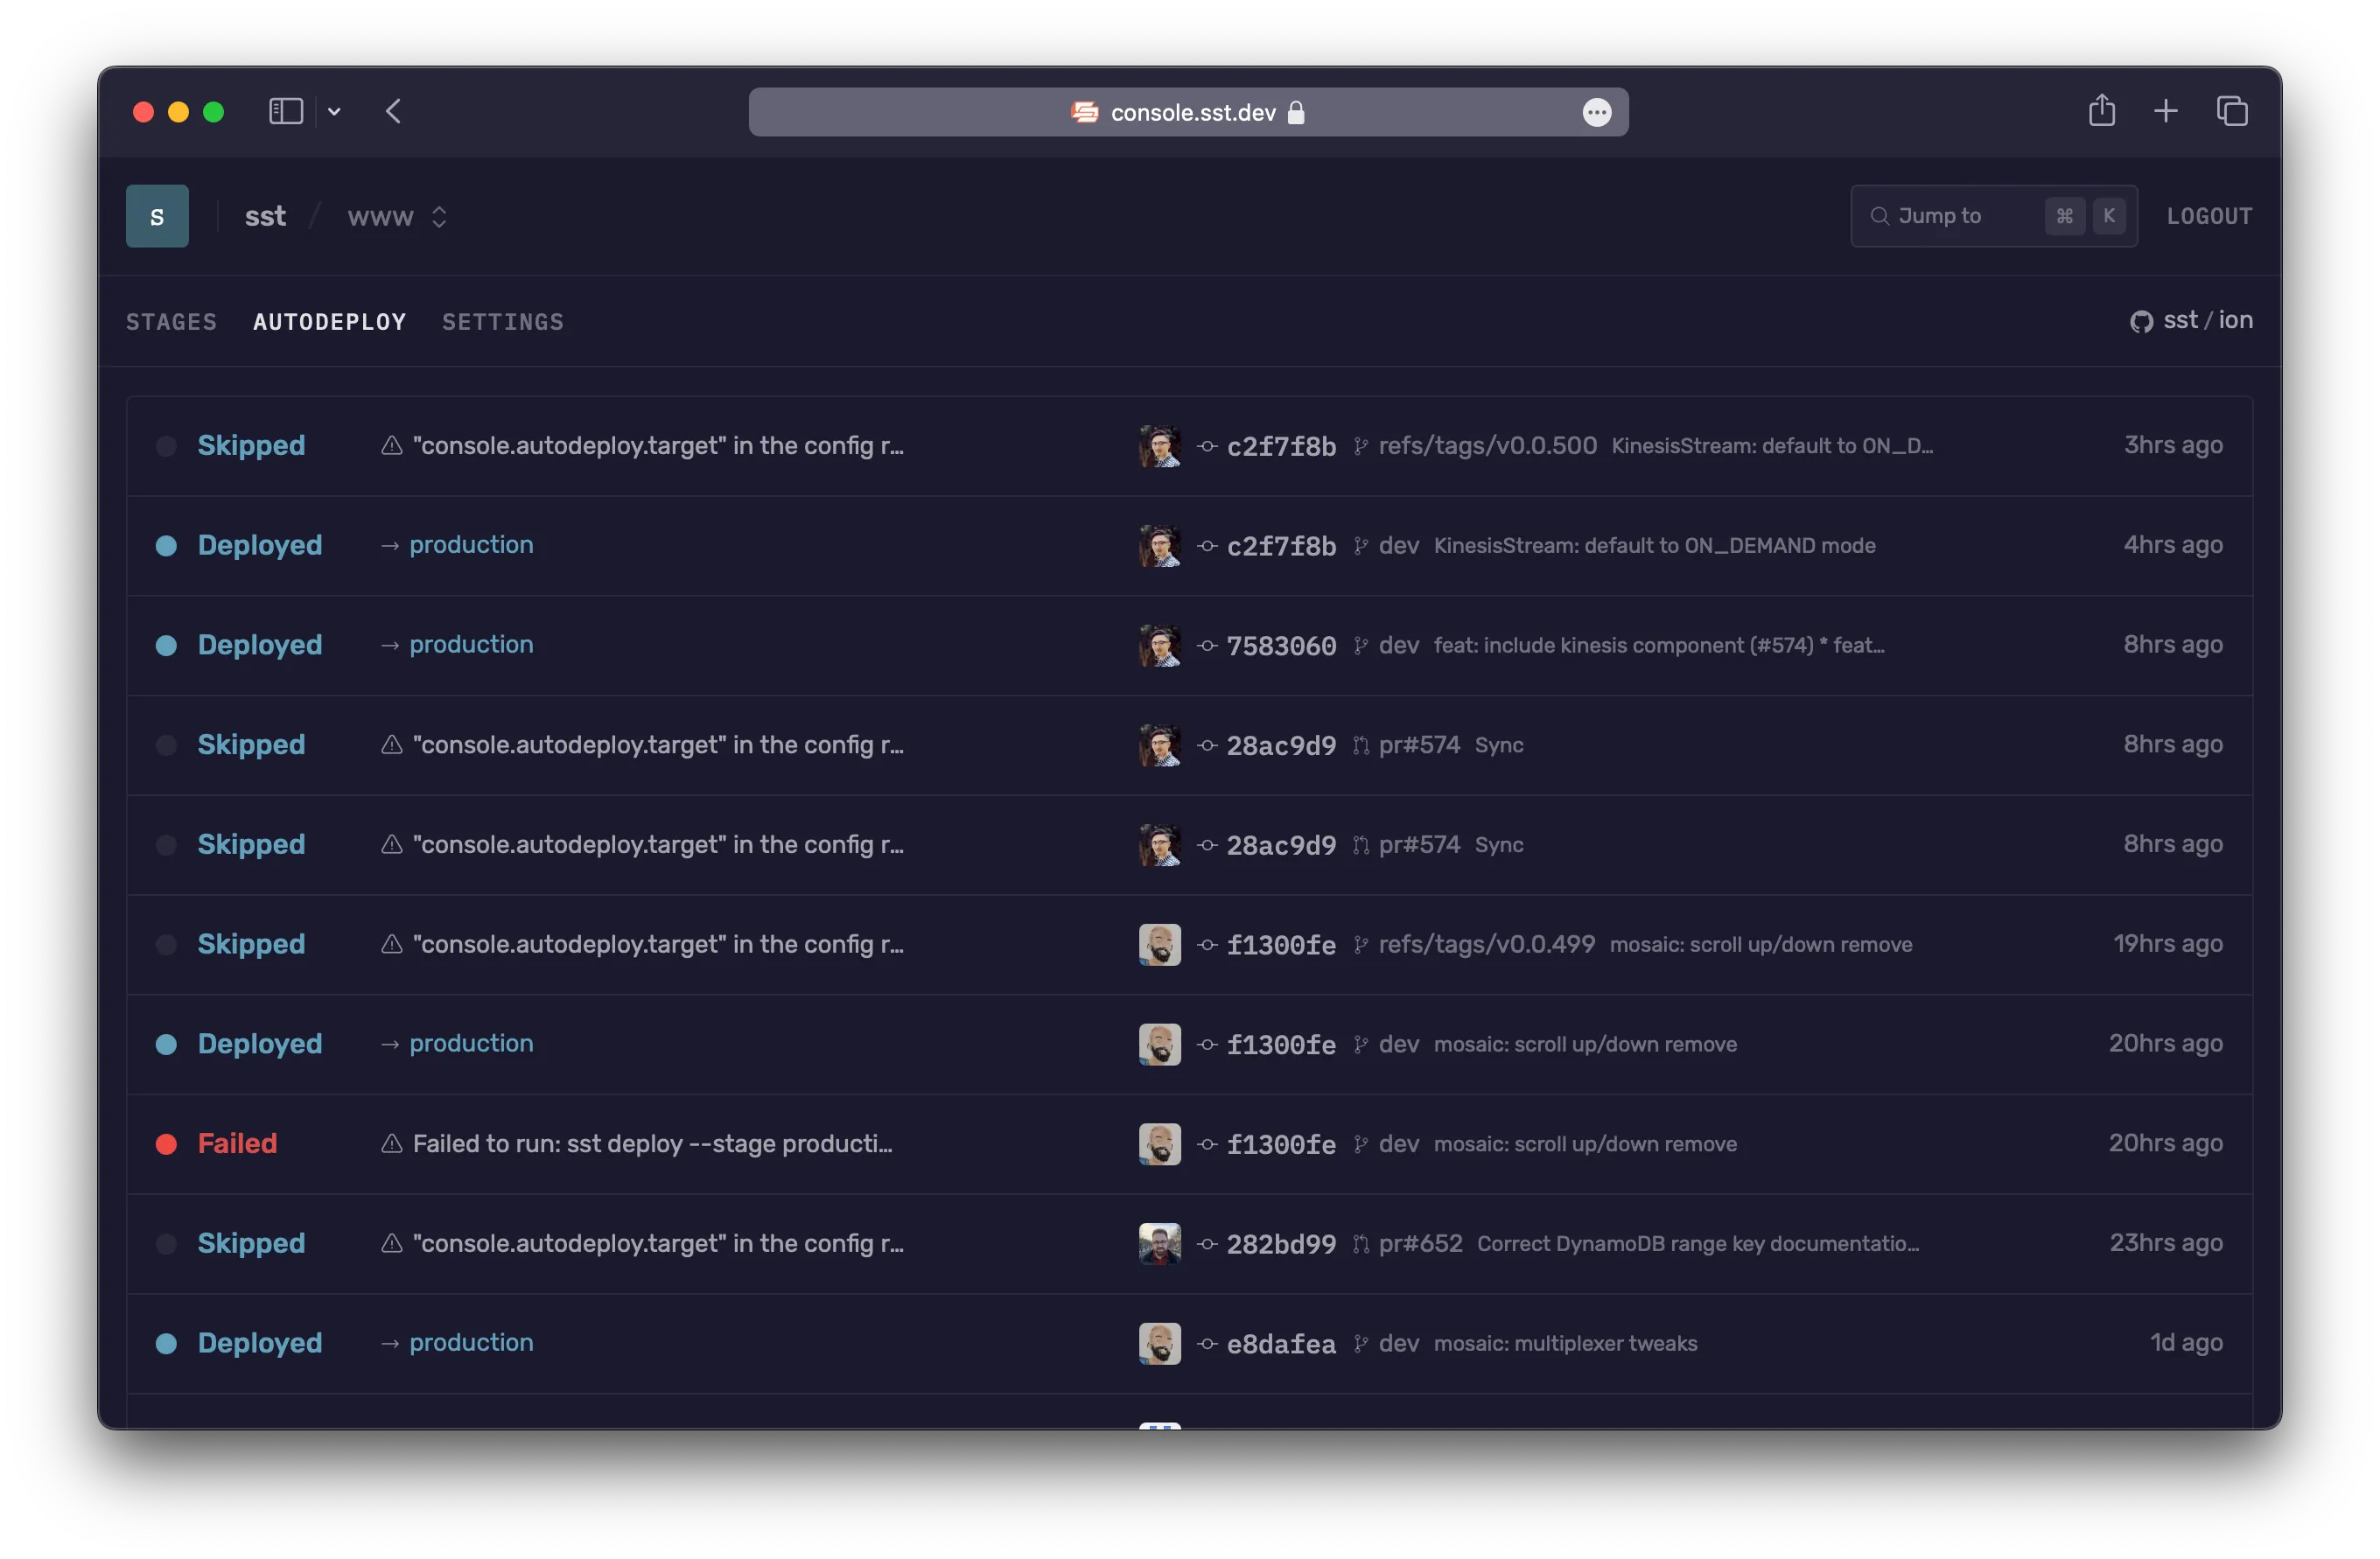
As a next step, you can setup the SST Console to git push to deploy your app and monitor it for any issues.

You can create a free account and connect it to your AWS account.