What is Ion
Build full-stack apps on your own infrastructure.
SST is a framework that makes it easy to build modern full-stack applications on your own infrastructure.
What makes SST different is that your entire app is defined in code — in a single sst.config.ts file. This includes your databases, buckets, queues, your Stripe webhooks, or any one of the 150+ providers.
With SST, everything is automated.
Ion is a new engine for deploying SST apps. It uses Pulumi and Terraform, as opposed to CDK and CloudFormation.
Ion is generally available and recommended for new SST users. We are working on a migration path for SST v2 users. Once Ion is stable, it’ll be released as SST v3. Read the full announcement.
If you are new to SST, here’s how it works.
Frontend
You start by defining parts of your app, in code. For example, your frontend. Or if you don’t have a frontend, your API.
new sst.aws.Nextjs("MyWeb", { domain: "my-app.com"});new sst.aws.Remix("MyWeb", { domain: "my-app.com"});new sst.aws.Astro("MyWeb", { domain: "my-app.com"});new sst.aws.SvelteKit("MyWeb", { domain: "my-app.com"});new sst.aws.SolidStart("MyWeb", { domain: "my-app.com"});new sst.aws.ApiGatewayV2("MyApi", { domain: "api.my-app.com"});Your app might even have multiple frontends.
Backend
Just like the frontend, you can configure backend features in code. Features like cron jobs, buckets, queues, databases, and more.
new sst.aws.Cron("MyCronJob", { job: "src/cron.handler", schedule: "rate(1 minute)"});new sst.aws.Bucket("MyBucket");new sst.aws.Email("MyEmail", { sender: "example.com"});new sst.aws.Realtime("MyServer", { authorizer: "src/authorizer.handler"});const myQueue = new sst.aws.Queue("MyQueue");
myQueue.subscribe("src/subscriber.handler");new sst.aws.Postgres("MyDatabase");You can check out the full list of components in the sidebar.
Infrastructure
The above are called Components. They are a way of defining the features of your application in code. You can define any feature of your application with them.
In the above examples, they create the necessary infrastructure in your AWS account. All without using the AWS Console.
Read more about Components.
Configure
SST’s components come with sensible defaults designed to get you started. But they can also be configured completely.
For example, the sst.aws.Function can be configured with all the common Lambda function props.
new sst.aws.Function("MyFunction", { handler: "src/lambda.handler", timeout: "3 minutes", memory: "1024 MB"});But with SST you can take it a step further and transform how the Function component creates its low level infrastructure. For example, the Function component also creates an IAM Role. You can transform the IAM Role using the transform prop.
new sst.aws.Function("MyFunction", { handler: "src/lambda.handler", transform: { role: (args) => ({ name: `${args.name}-MyRole` }) }});Read more about transforms.
Providers
SST has components for AWS and Cloudflare that make these services easier to use.
However it also supports components from any one of the 150+ Pulumi/Terraform providers. This is because components in SST are built on Pulumi components.
For example, you can use Vercel for your frontends.
new vercel.Project("MyFrontend", { name: "my-nextjs-app"});Read more about Providers and check out the full list in the Directory
Link resources
Once you’ve added a couple of features, SST can help you link them together. This is great because you won’t need to hardcode anything in your app.
Let’s say your app has a Next.js frontend and an S3 bucket for file uploads. You can link the bucket to your Next.js app.
const bucket = new sst.aws.Bucket("MyBucket");
new sst.aws.Nextjs("MyWeb", {  link: [bucket]});
You can then use SST’s SDK to access the S3 bucket in your Next.js app.
import { Resource } from "sst";
console.log(Resource.MyBucket.name);
Read more about resource linking.
Project structure
We’ve looked at a couple of different types of files. Let’s take a step back and see what an SST app looks like in practice.
Drop-in mode
The simplest way to run SST is to use it as a part of your frontend. This is called drop-in mode. For example, if you are using Next.js, you can add a sst.config.ts file to the root.
my-nextjs-app├─ next.config.js├─ sst.config.ts├─ package.json├─ app├─ lib└─ publicView an example Next.js app using SST in drop-in mode.
Monorepo
Alternatively, you can use SST in a monorepo. This is useful if you have multiple frontends or you are working on a large project. In this case the sst.config.ts is in the root of your monorepo.
my-sst-app├─ sst.config.ts├─ package.json├─ packages│ ├─ functions│ ├─ frontend│ ├─ scripts│ └─ core└─ infraRead more about our monorepo setup.
CLI
To make this all work, SST comes with a CLI. You can install it as a part of your Node project.
npm install sst@ionOr if you are not using Node, you can install it globally.
curl -fsSL https://ion.sst.dev/install | bashThe CLI currently supports macOS, Linux, and WSL. Read more about the CLI.
Dev
The CLI includes a dev command that starts a local development environment.
sst devIt lets you make and test changes to your functions live, without having to redeploy them.
You can also use this command to start your frontend locally, and it’ll automatically load your linked resources in your frontend’s environment.
sst dev next devsst dev remix devsst dev astro devDeploy
When you’re ready to deploy your app, you can use the deploy command.
sst deploy --stage productionStages
The deploy command can also deploy your app to a specific stage or environment.
# Deploy to devnpx sst deploy --stage dev
# Deploy a PR environmentnpx sst deploy --stage pr-123
This lets you create separate environments for your app. Read more about stages.
Console
Once you are ready to go to production, you can use the SST Console to auto-deploy your app, create preview environments, and monitor for any issues.
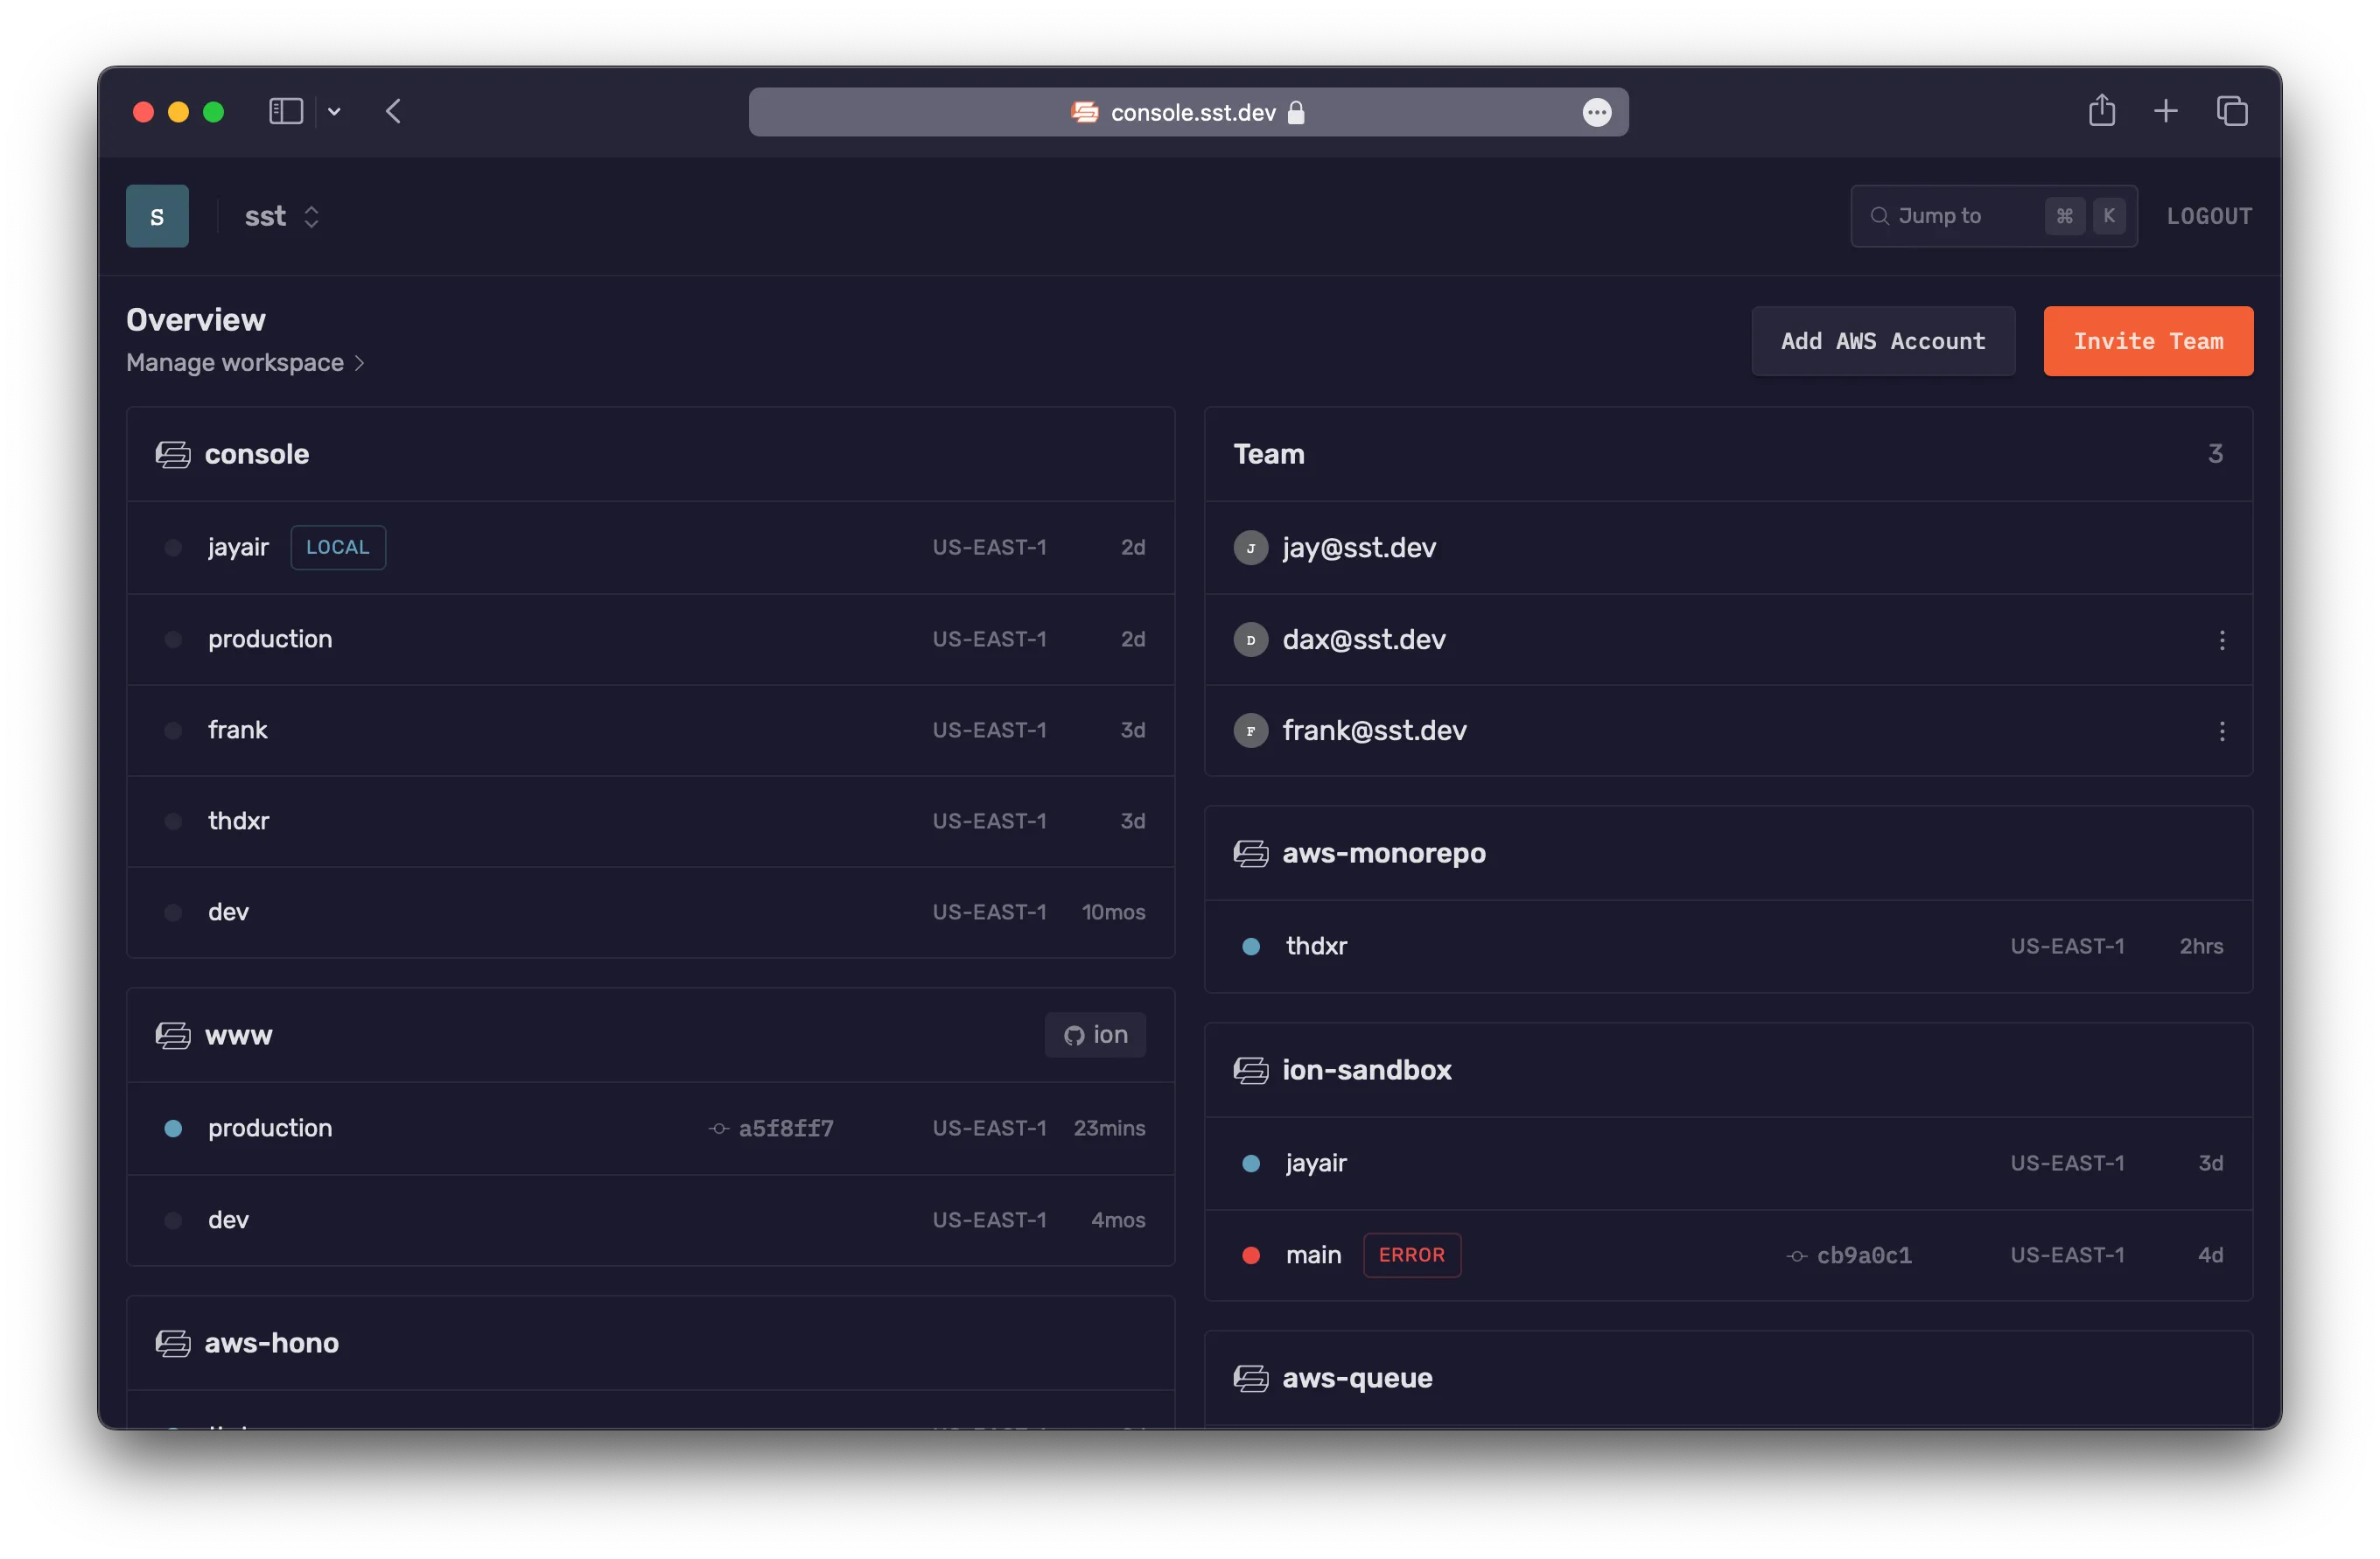
Read more about the Console.
Next steps
- Create your first SST app
- Learn about the SST workflow