Drizzle with Amazon RDS and SST
Use Drizzle and SST to manage and deploy your Amazon Postgres RDS database.
We are going to use Drizzle and SST to manage and deploy an Amazon Postgres RDS database.
Before you get started, make sure to configure your AWS credentials.
1. Create a project
Let’s start by creating a Node.js app.
mkdir my-drizzle-app && cd my-drizzle-appnpm init -yInit SST
Now let’s initialize SST in our app. Make sure to add the @ion part.
npx sst@ion initnpm installSelect the defaults and pick AWS. This’ll create a sst.config.ts file in your project root.
Init Drizzle
Add Drizzle to your project. We’re also adding the RDS client that Drizzle will use.
npm install @aws-sdk/client-rds-data drizzle-orm drizzle-kitDrizzle ORM is will be used to query our database, while Drizzle Kit will allow us to run migrations. It also comes with Drizzle Studio, a query browser.
Let’s add the following to the scripts in the package.json.
"scripts": { "db": "sst shell drizzle-kit", "db:studio": "sst shell drizzle-kit studio"},SST will pass the credentials to Drizzle Kit and allow it to connect to your database.
2. Add a Postgres db
Let’s add a Postgres database using Amazon Aurora Serverless v2. Update your sst.config.ts.
async run() { const vpc = new sst.aws.Vpc("MyVpc"); const rds = new sst.aws.Postgres("MyPostgres", { vpc });},Add an API
We’ll also add an API to query our database. Add the following to your sst.config.ts below the database config.
const api = new sst.aws.Function("MyApi", {  url: true,  link: [rds],  handler: "src/api.handler",});
return {  api: api.url,};
We are linking our database to the API.
Start dev mode
Start your app in dev mode. This runs your functions Live.
npx sst devIt’ll take a few minutes to create your database. Once complete, you’ll see this.
+ Complete api: https://ouu5vovpxllyn5b6ot2nn6vdsa0hvcuj.lambda-url.us-east-1.on.aws3. Create a schema
Let’s define our Drizzle config. Add a drizzle.config.ts in your project root with this.
import { Resource } from "sst";import { defineConfig } from "drizzle-kit";
export default defineConfig({  driver: "aws-data-api",  dialect: "postgresql",  dbCredentials: {    database: Resource.MyPostgres.database,    secretArn: Resource.MyPostgres.secretArn,    resourceArn: Resource.MyPostgres.clusterArn,  },  // Pick up all our schema files  schema: ["./src/**/*.sql.ts"],  out: "./migrations",});
Here we are telling Drizzle that we’ll be specifying your database schema in .sql.ts files in our src/ directory.
We are going to create a simple database to store some todos. Create a new file in src/todo.sql.ts with the following.
import { text, serial, pgTable } from "drizzle-orm/pg-core";
export const todo = pgTable("todo", {  id: serial("id").primaryKey(),  title: text("title").notNull(),  description: text("description"),});
4. Generate a migration
We can use this to generate a migration.
npm run db generateThis in turn runs sst shell drizzle-kit generate and creates a new migration in the migrations/ directory.
Apply the migration
Now we can apply our migration using.
npm run db migrateThis should create our new schema.
Drizzle Studio
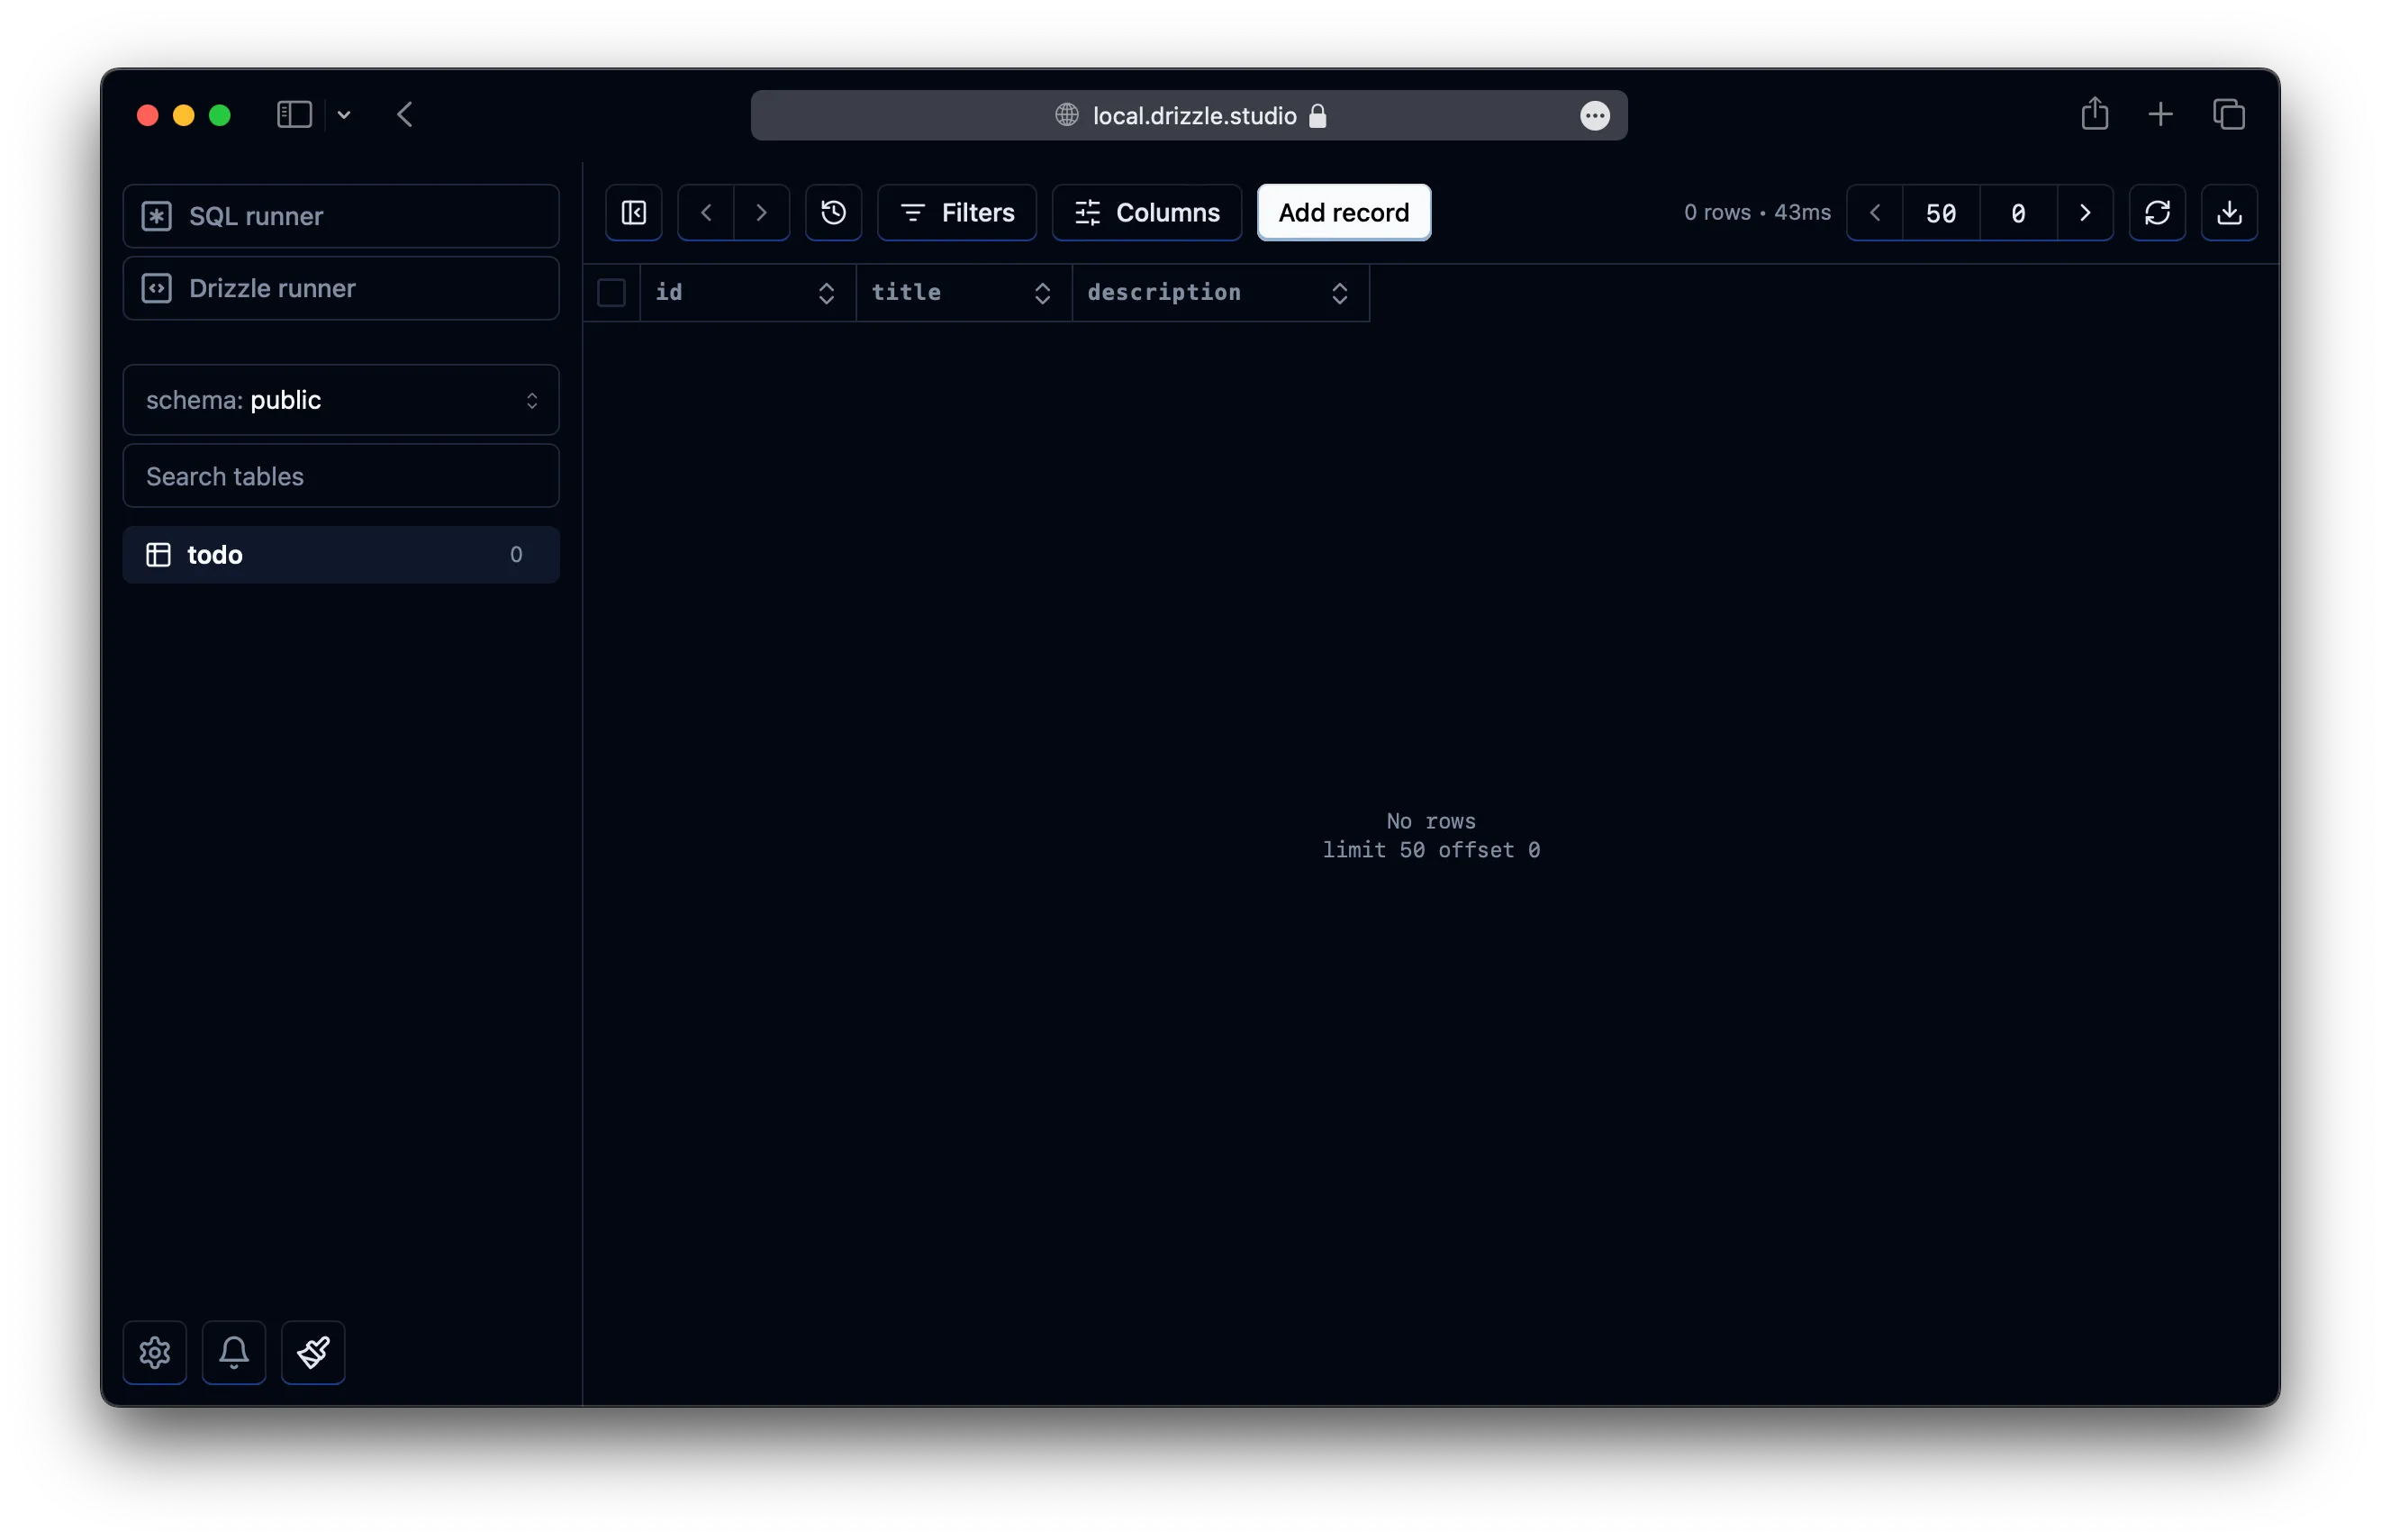
To see our schema in action we can open the Drizzle Studio.
npm run db:studioThis will run sst shell drizzle-kit studio and direct you to opening https://local.drizzle.studio.
5. Query the database
To use Drizzle ORM to query our database, create a new src/drizzle.ts config file with the following.
import { Resource } from "sst";import { drizzle } from "drizzle-orm/aws-data-api/pg";import { RDSDataClient } from "@aws-sdk/client-rds-data";
const client = new RDSDataClient({});
export const db = drizzle(client, {  database: Resource.MyPostgres.database,  secretArn: Resource.MyPostgres.secretArn,  resourceArn: Resource.MyPostgres.clusterArn,});
Now we can use that in the API. Create our API handler in src/api.ts.
import { db } from "./drizzle";import { todo } from "./todo.sql";import { APIGatewayProxyHandlerV2 } from "aws-lambda";
export const handler: APIGatewayProxyHandlerV2 = async (evt) => {  if (evt.requestContext.http.method === "GET") {    const result = await db.select().from(todo).execute();
    return {      statusCode: 200,      body: JSON.stringify(result, null, 2),    };  }
  if (evt.requestContext.http.method === "POST") {    const result = await db      .insert(todo)      .values({ title: "Todo", description: crypto.randomUUID() })      .returning()      .execute();
    return {      statusCode: 200,      body: JSON.stringify(result),    };  }};
For POST requests we create a new todo and for GET requests we simply print out all our todos.
Test your app
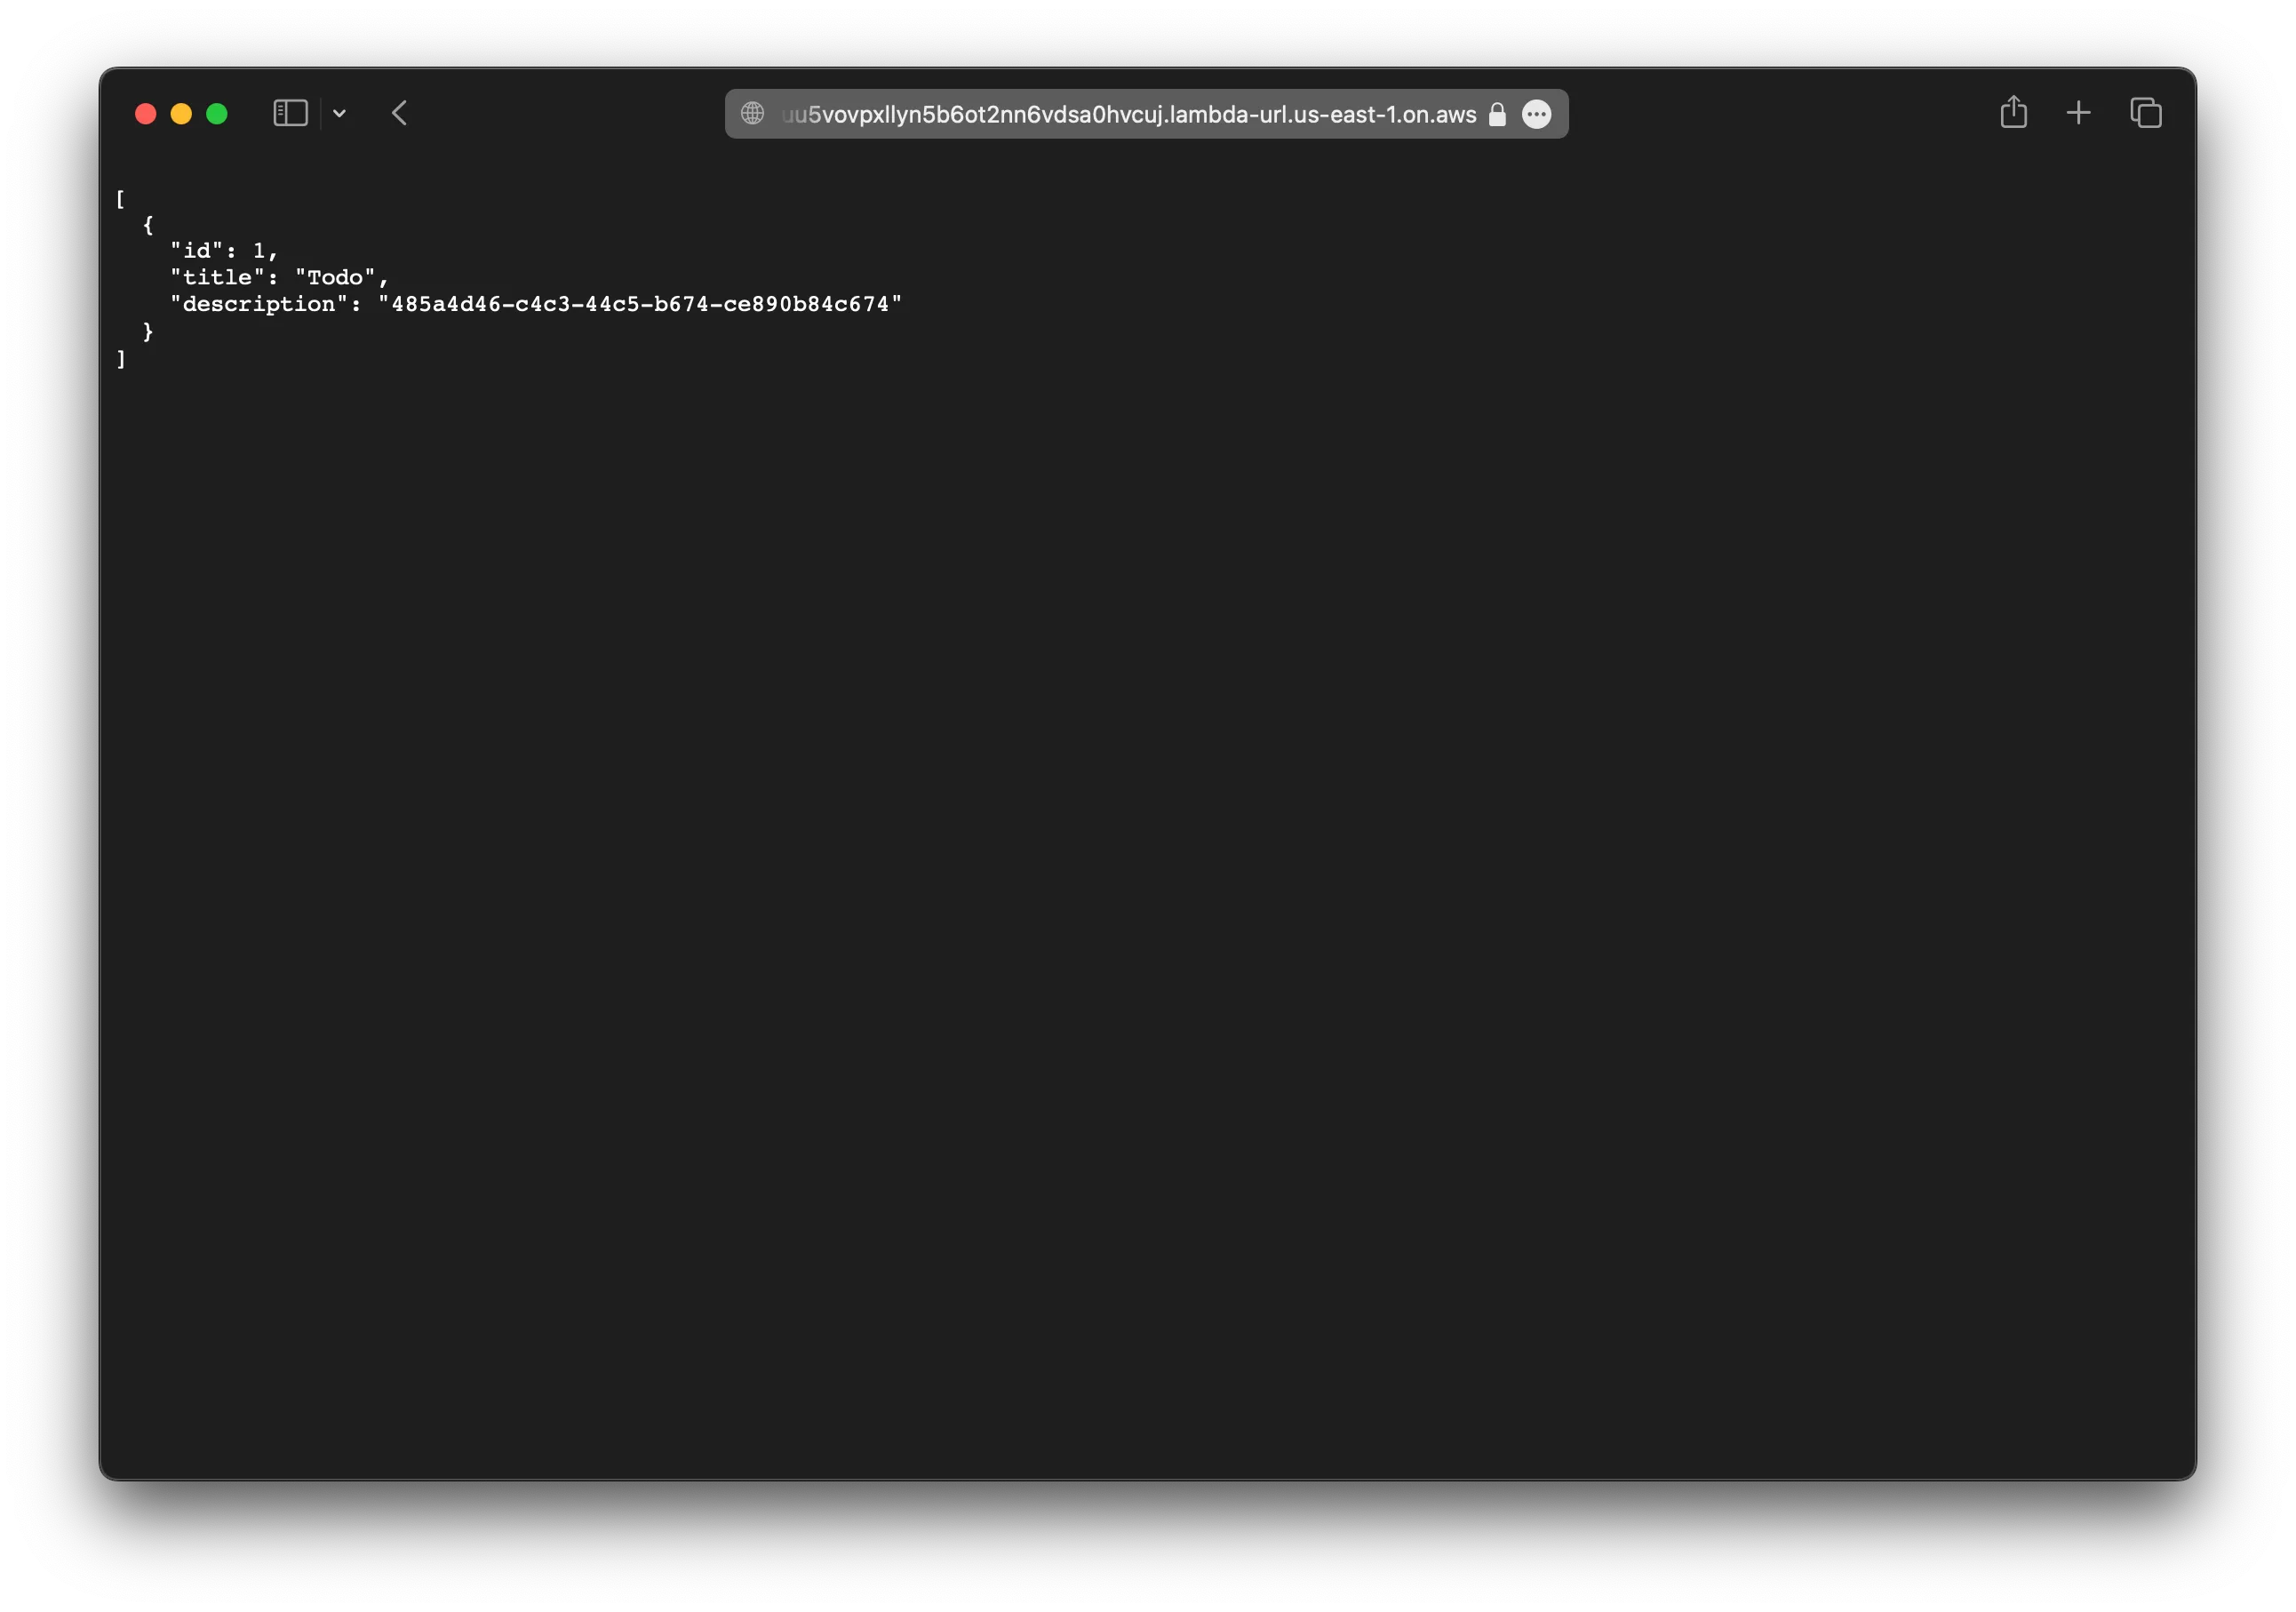
To test our app, make a POST request to our API.
curl -X POST https://ouu5vovpxllyn5b6ot2nn6vdsa0hvcuj.lambda-url.us-east-1.on.awsNow if you head over to https://ouu5vovpxllyn5b6ot2nn6vdsa0hvcuj.lambda-url.us-east-1.on.aws in your browser, you’ll see that a todo has been added.
You should see this in the Drizzle Studio as well.
6. Deploy your app
Finally, let’s deploy your app.
npx sst deploy --stage productionYou can use any stage name here but it’s good to create a new stage for production.
Connect the console
As a next step, you can setup the SST Console to git push to deploy your app and monitor it for any issues.
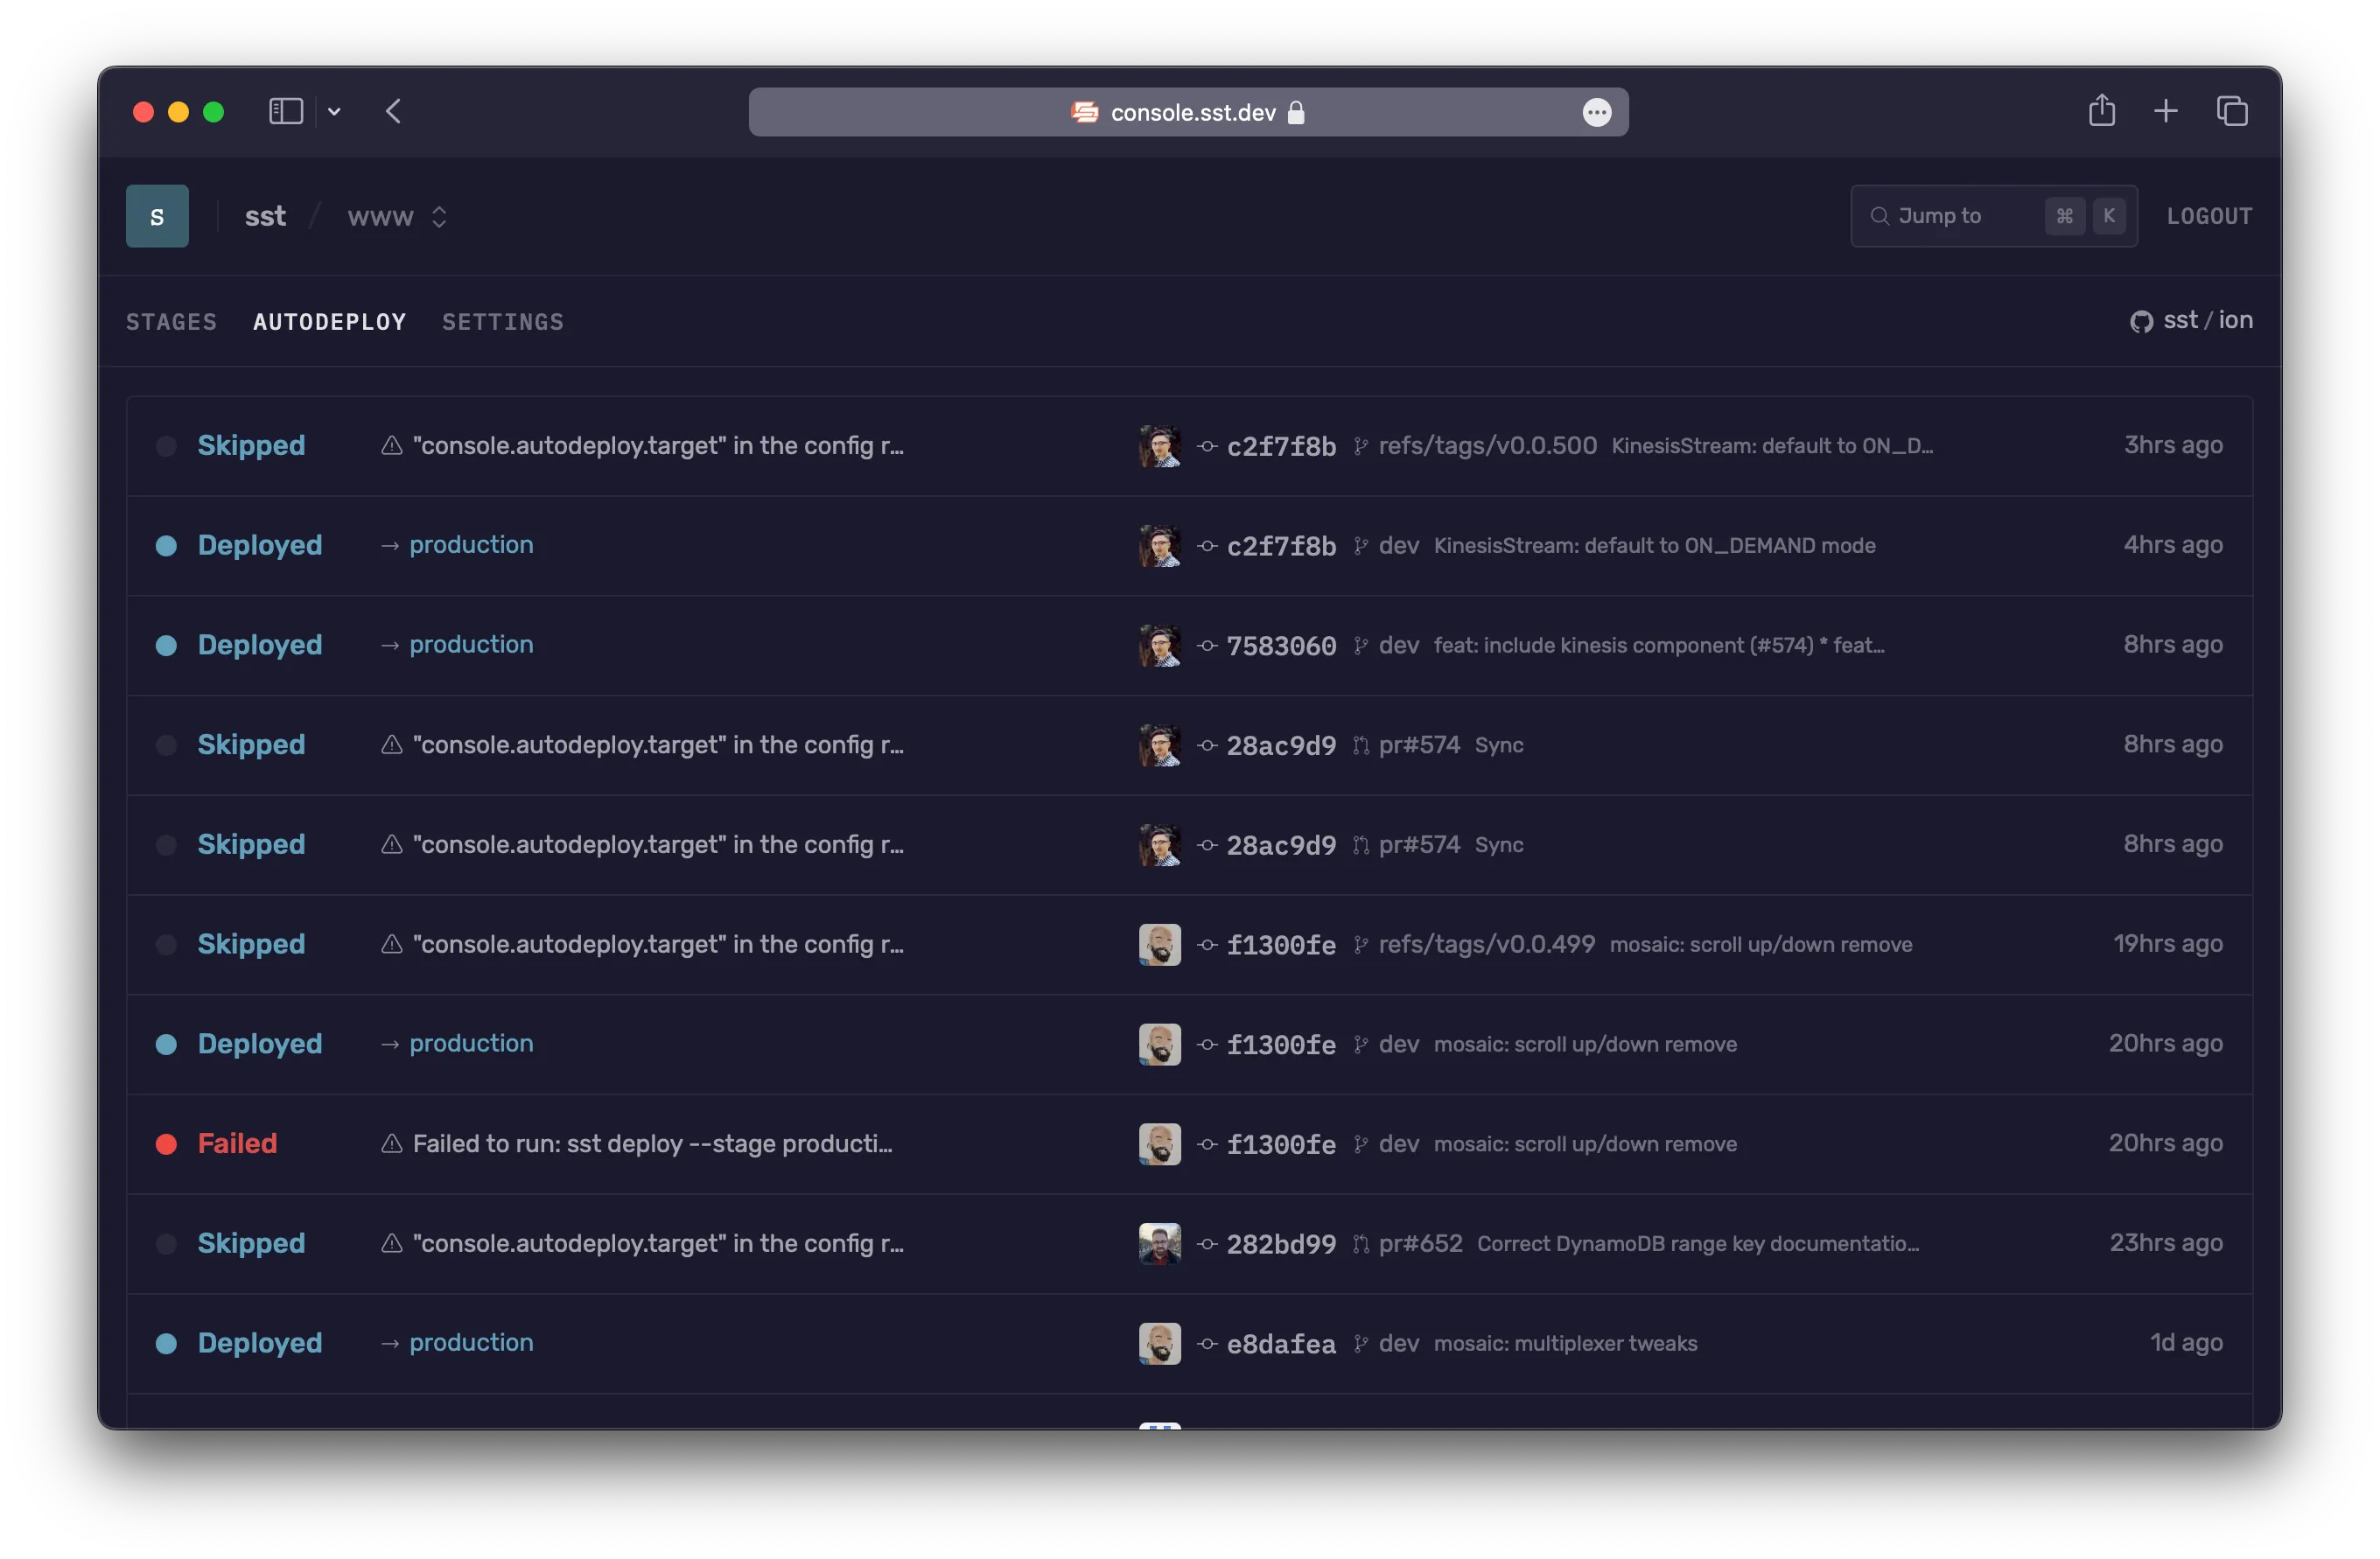
You can create a free account and connect it to your AWS account.