Use Astro with SST
Create and deploy an Astro site to AWS with SST.
We are going to create an Astro site, add an S3 Bucket for file uploads, and deploy it to AWS using SST.
Before you get started:
1. Create an Astro project
Let’s start by creating our project.
npm create astro@latestInit SST
Now let’s initialize SST in our app. Make sure you have the CLI installed.
sst initThis’ll create a sst.config.ts file in your project root.
Start dev mode
Start the dev mode for your Astro site and link it to SST.
npm run dev2. Add an S3 Bucket
Let’s add a public S3 Bucket for file uploads. Update your sst.config.ts.
const bucket = new sst.aws.Bucket("MyBucket", { public: true});Link the bucket
Now, link the bucket to our Astro site.
new sst.aws.Astro("MyWeb", { link: [bucket],});3. Create an upload form
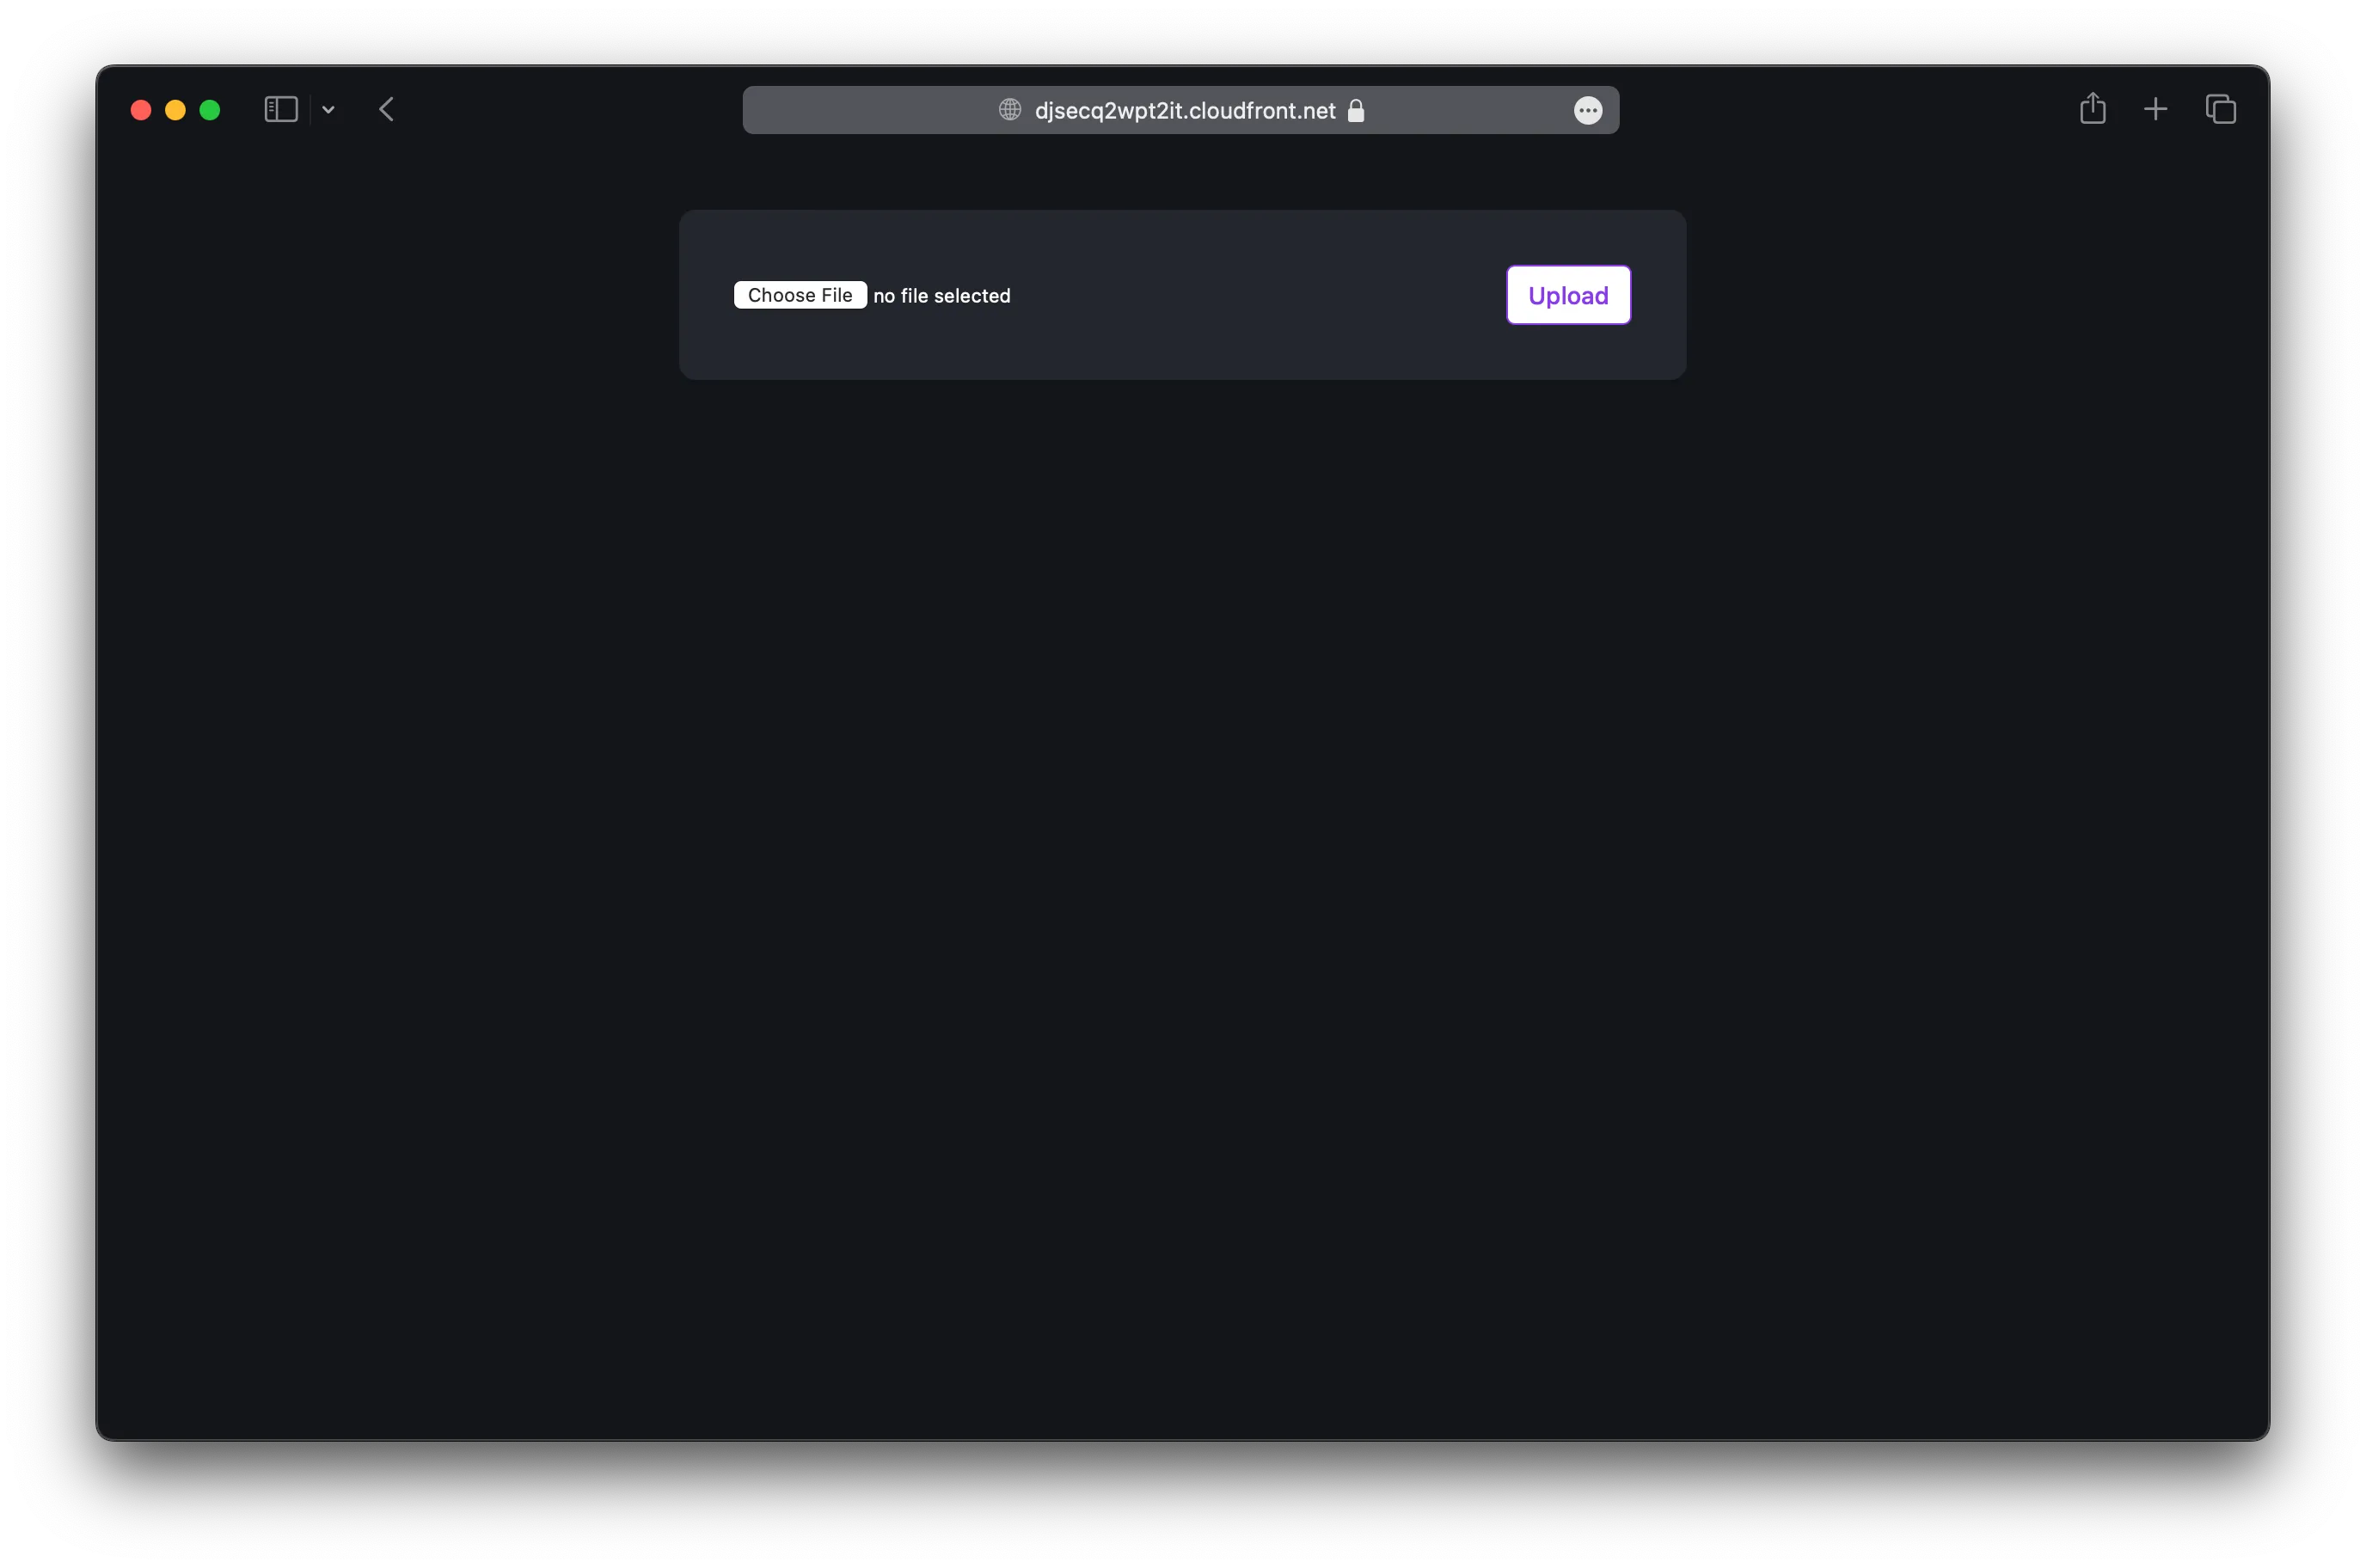
Add the upload form client in src/pages/index.astro. Replace the <Layout /> component with:
<Layout title="Astro x SST">  <main>    <form action={url}>      <input name="file" type="file" accept="image/png, image/jpeg" />      <button type="submit">Upload</button>    </form>    <script>      const form = document.querySelector("form");      form!.addEventListener("submit", async (e) => {        e.preventDefault();
        const file = form!.file.files?.[0]!;
        const image = await fetch(form!.action, {          body: file,          method: "PUT",          headers: {            "Content-Type": file.type,            "Content-Disposition": `attachment; filename="${file.name}"`,          },        });
        window.location.href = image.url.split("?")[0] || "/";      });    </script>  </main></Layout>
Add some styles, replace the <style /> tag with:
<style> main { margin: auto; padding: 1.5rem; max-width: 60ch; } form { color: white; padding: 2rem; display: flex; align-items: center; justify-content: space-between; background-color: #23262d; background-image: none; background-size: 400%; border-radius: 0.6rem; background-position: 100%; box-shadow: 0 4px 6px -1px rgba(0, 0, 0, 0.1), 0 2px 4px -2px rgba(0, 0, 0, 0.1); } button { appearance: none; border: 0; font-weight: 500; border-radius: 5px; font-size: 0.875rem; padding: 0.5rem 0.75rem; background-color: white; border: 1px solid rgb(var(--accent)); color: rgb(var(--accent)); } button:active:enabled { background-color: #EEE; }</style>4. Generate a pre-signed URL
When our app loads, we’ll generate a pre-signed URL for the file upload and use it in the form.
---import { Resource } from "sst";import Layout from '../layouts/Layout.astro';import { getSignedUrl } from "@aws-sdk/s3-request-presigner";import { S3Client, PutObjectCommand } from "@aws-sdk/client-s3";
const command = new PutObjectCommand({ Key: crypto.randomUUID(), Bucket: Resource.MyBucket.name,});const url = await getSignedUrl(new S3Client({}), command);---And install the npm packages.
npm install @aws-sdk/client-s3 @aws-sdk/s3-request-presignerHead over to the local Astro site in your browser, http://localhost:4321 and try uploading an image. You should see it upload and then download the image.
5. Deploy your app
Now let’s deploy your app to AWS.
sst deployCongrats! Your site should now be live!
Connect the console
As a next step, you can manage your app and view issues in the SST Console.

You can create a free account and connect it to your AWS account.